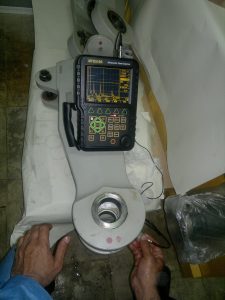
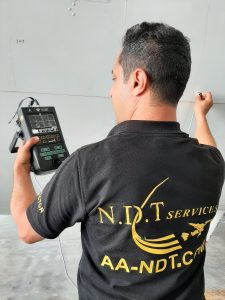
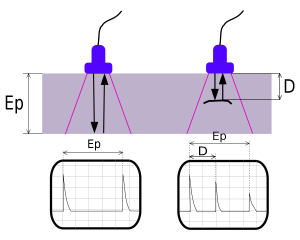
High frequency sound waves are sent into a material by a transducer. The sound waves travel through the material and are received by the same transducer or a second transducer. The amount of energy transmitted or received and the time and the energy is received are analyzed to determine the presence of flaws. Changes in material thickness, and properties can also be measured.
Main Uses
Used to locate surface and subsurface defects in many materials including metals, plastics, and wood. Ultrasonic inspection is also used to measure the thickness of materials and characterize properties of material based on sound velocity and attenuation measurements.
Main Advantages
- Depth of penetration for flaw detection or measurement is superior to other methods.
- Only single side access is required.
- Provides distance information.
- Minimum preparation is required.
- Method can be used for much more than just flaw detection.
Disadvantages
- Surface must be accessible to probe and couplant gel.
- Skill and training required is more extensive than other technique.
- Surface finish and roughness can interfere with inspection.
- Thin parts may be difficult to inspect.
- Linear defects oriented parallel to the sound beam can go undetected.
- Reference standards are often needed.


